I won’t pretend I’m not a crafty person. In fact, whatever the opposite of “crafty” is, that’s me. Still every year I have grand visions of creating perfectly decorated cookies with my kids. In this vision, we’re gathered around the counter like one of those scenes from a Hallmark movie: Soft Christmas music is playing, we dot little eyes on a perfect little sugary snowman, then we all throw our heads back in laughter at a mildly funny joke.
But never once in the history of ever have I once made a cookie that didn’t look like a crime scene. Just utter destruction. The icing either oozes off the sides or the piping bag explodes making a massive mess.
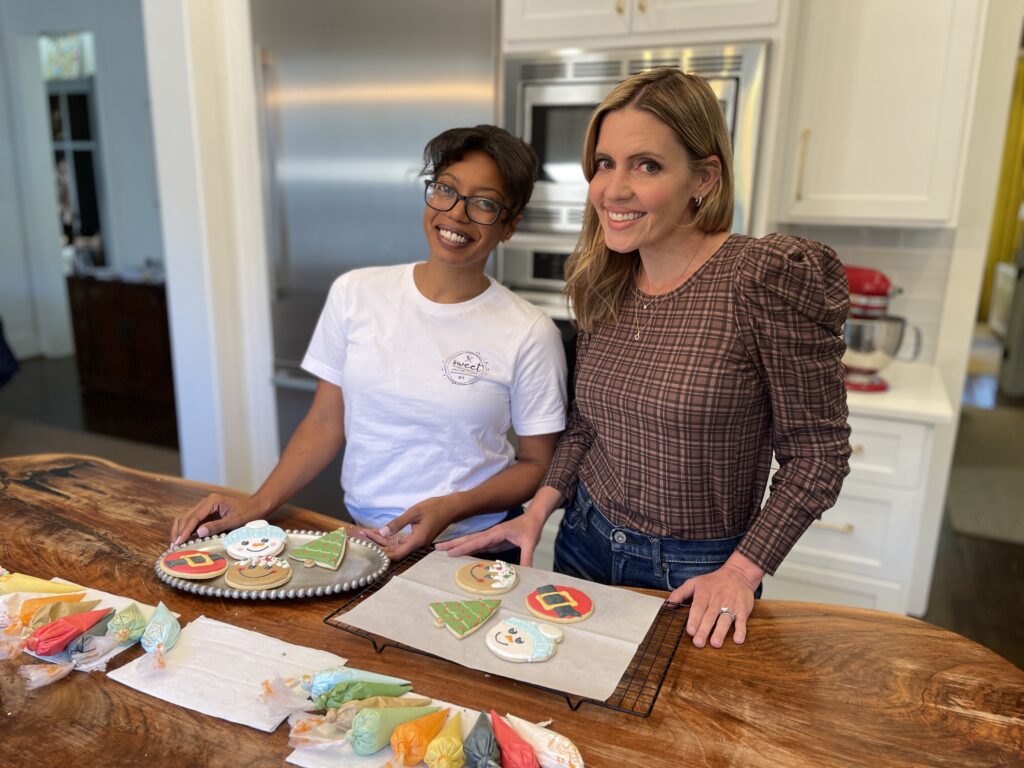
She’s been in the cookie business for the past fifteen years. “I was a broke college kid and I got a job in one of those cookie chain stores,” she said. “They noticed I had some talent and I worked my way up to dealing with all the custom orders.” Making these creations for people brought her such joy, that even though she hit pause on cookie design for a few years to have her three children, she started her own business five years ago.
Kishon does it all: Unique cookies for special occasions, DIY cookie gift sets, she even teaches cookie decorating classes. In fact, she’s such a good teacher she helped me, the non-craftiest person on this planet, create cookies that I could be proud of!
(Don’t get me wrong: Kishon’s job is safe. I’ll never be good enough to go into business but at least I know enough to make cookies that don’t look like a crime scene.)
Perfect Holiday Cookie Tips (From The Pro)
1. Pick the right recipe
One of the things I’ve struggled with is creating a cookie that will hold the shape of the cookie cutter. For the cookies themselves, Kishon recommends finding a good “no spread” sugar cookie recipe. She said, “Don’t overthink it. Google one with a lot of good reviews and go for it.”
2. Chill out .. twice
A step I was always skipping was chilling the dough. After you blend the dough, chill in the fridge for at least 30 minutes before shaping with cookie cutters. Then, after you create your shape, place them on a parchment lined baking sheet and place them in the freezer for at least ten minutes to chill out again. You can also poke your cookies with a fork to make sure they don’t rise in the middle after baking.
*IMPORTANT STEP* Transfer the cookies (just pick up the parchment paper) to a room temperature baking sheet. You don’t want to mess up the baking time by having a super cold tray.
3. It’s all in the icing
Kishon says royal icing is the key to solid cookie designs. While buttercream is delicious, it’s not going to allow the details that make those spectacular designs. She says, “The reason most people fail is icing consistency. It should be toothpaste consistency.” Kishon adds, “Royal icing is very forgiving. If you want it more firm for text, add in more powdered sugar. If you want it to spread thin for the background of a design add in a little more water.”
Here’s a very basic recipe:
4 cups confectioners’ sugar
5 tablespoons warm water
3 tablespoons meringue powder
Food coloring (if you prefer)
By using meringue powder you eliminate the need for egg whites. If you can’t find the powder in stores, you can get it on Amazon. Beat with a mixer for at least ten minutes until the icing forms peaks. You can check the consistency at this point.
If it’s too stiff for spreading, add in a little more water. If it’s too runny, add some powdered sugar. If you want to, blend in food coloring. Once you have your ideal consistency, tap the bowl a few times to let out any air bubbles.
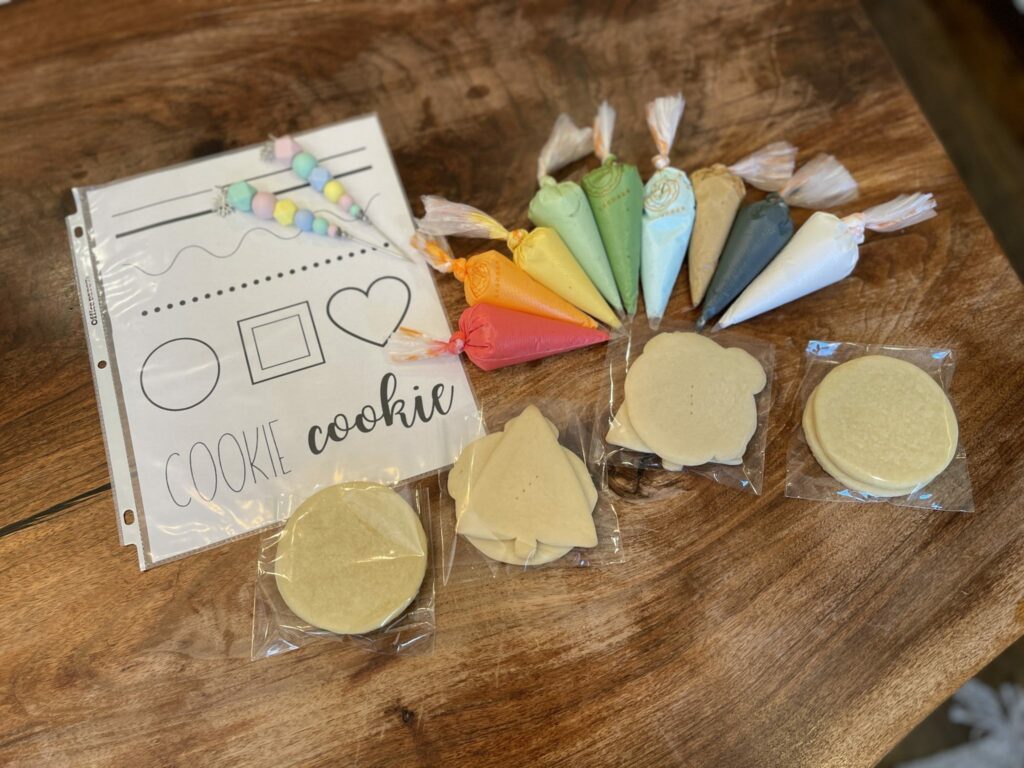
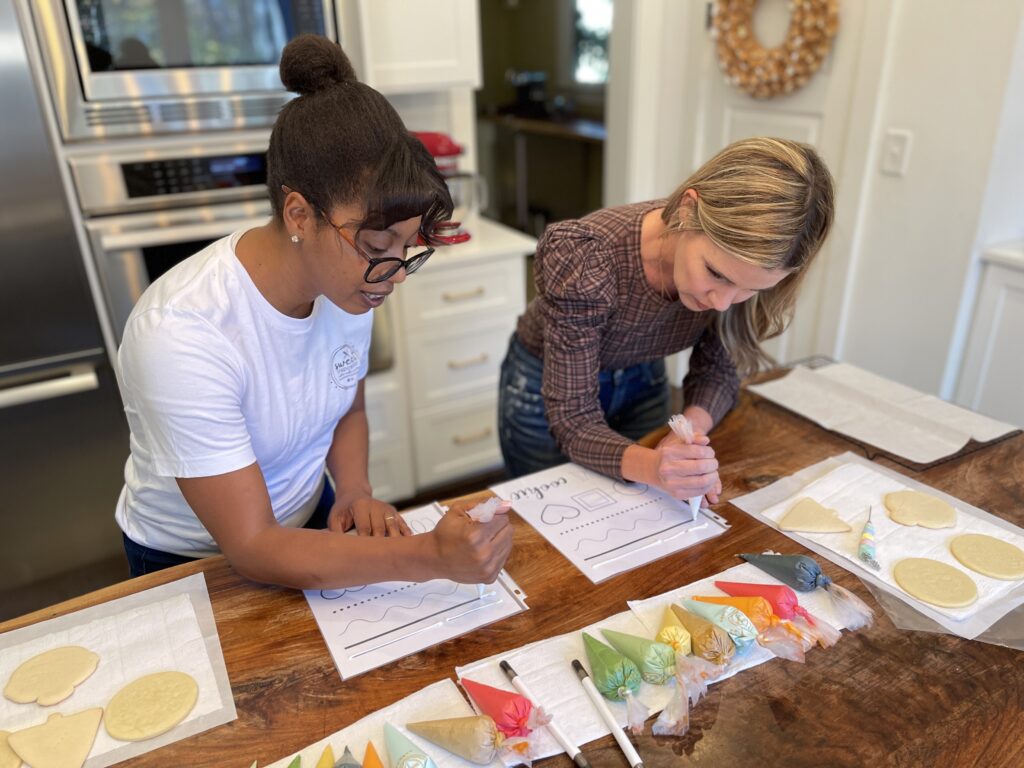
Kishon also brought print outs in a plastic sleeve for us to practice our icing technique which was extremely helpful.
4. Must have tools for success
Tipless bags: Kishon prefers using tipless bags as opposed to traditional piping bag and metal icing tip combination. It’s less messy and she can create the desired width for decorating just by adjusting the size of the whole she cuts. Easy peasy. She uses this brand.
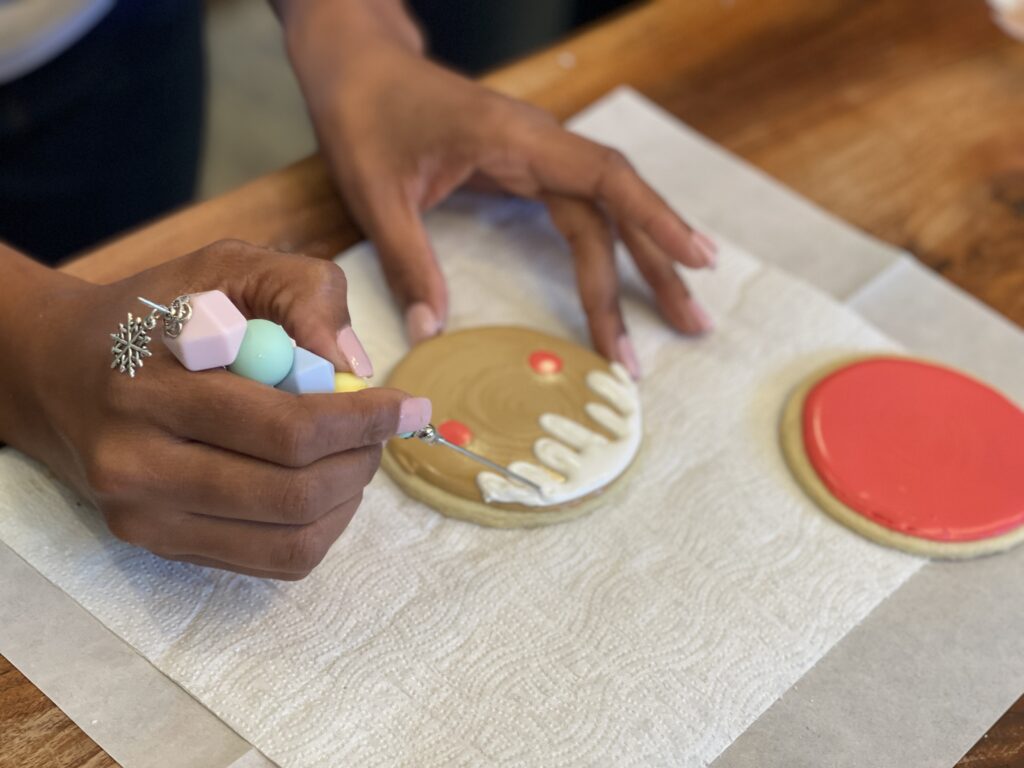
Cookie scribe: These help refine those tiny details that give the cookies a more professional look. Here is the exact same onewe used during our session.
Paper towels: Kishon expertly swipes away icing that may bulk at the end of the bag on a paper towel nearby. I failed to do this and, well, that made a huge difference.
5. Work in stages
Another way I’ve messed up prior cookie decorating? I lose patience and rush it. Kishon encourages working in stages, letting the base layer dry before layering colors on top. She works in an assembly line style when producing her designs. She taught me to start by making the outline with the tipless bag, then cutting a larger hole to fill in the space.
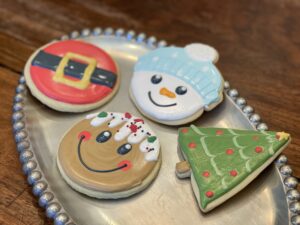
I must say, I’m very proud of my efforts. Having Kishon there felt like I had training wheels and a supportive cheerleader, so the real test will be if I can recreate these during a picture-perfect cookie baking day in the future. While it’s safe to say, I’ll never go into the cookie business, I love having these new skills.
Note: Some of the items in this blog include Amazon Affiliate and other links which earn a small commission.